Using Explain Everything to Enhance Lessons
Caylie Gaccione
Curriculum Specialist
News
Creating engaging lessons is one of the most challenging tasks that educators face. Between delivering the content that we are required to teach, differentiating instruction, and more, how do we find the time to keep our students engaged? Explain Everything is a digital tool that allows educators to enhance lessons for students in a variety of ways. One of the best parts of this tool is that you can use content that you already have and take it to the next level with Explain Everything. Read on to learn more about how you can boost your lessons with a user-friendly platform for both teachers and students.
Why enhance lessons?
Firstly, it is important to understand why our lessons should contain engaging content for students. Our goal is to give students the tools they need to be successful and learn the required material. However, we also want to make sure that they are excited about what they are learning. By enhancing our lessons with different tools and resources, we are able to increase student participation, learn more about our students, and even improve behaviors. By giving our students diverse tools to learn new content, show thinking, and present their ideas, you are creating an environment that fosters creativity and recognizes different learning preferences.
What is Explain Everything?
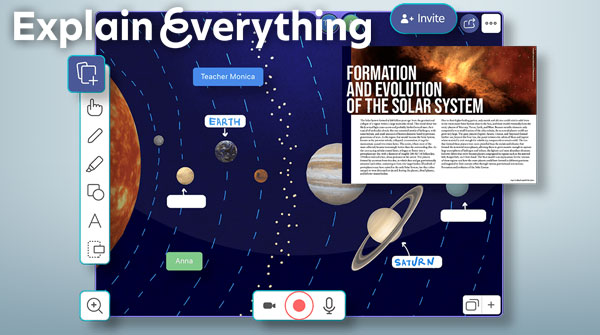
Now that we have a deeper understanding of the importance of engaging students and enhancing lessons, let’s explore Explain Everything and how we can use this tool. Explain Everything is now part of Promethean and can be accessed from a web browser or by downloading the application on your device. This tool is best known as an online whiteboard where you and your students can annotate, record, and collaborate by sharing presentations in real-time. From the teacher standpoint, you can easily create lessons with multimedia to enhance instruction. From the student standpoint, you can show understanding, reflect, and tackle new topics.
How it works:
Explain Everything is a tool that only takes a few steps to start using. Keep in mind that the website and application will be very similar in terms of functionality. Follow these steps to get started:
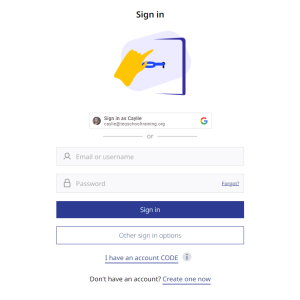
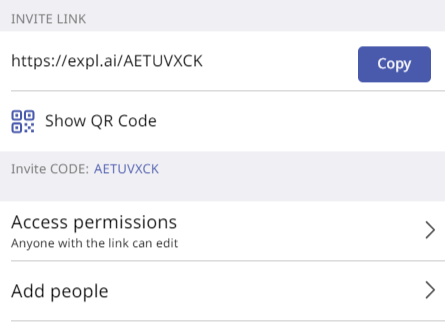
- On the website, create an account for first time use and from there sign in with your username/email and password. This page is also where you can enter a CODE to join and collaborate on a pre-existing Explain Everything project.
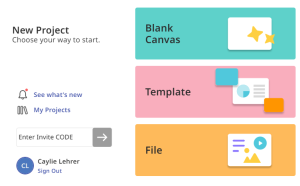
- Once you are logged in, you can access your current projects and make edits or create a new project. Under “New Project,” you will see the following options to create a blank canvas, utilize a template, or upload a pre-existing file. This is where you can take static content from your files, upload it onto Explain Everything, then utilize the available options to enhance your lessons.
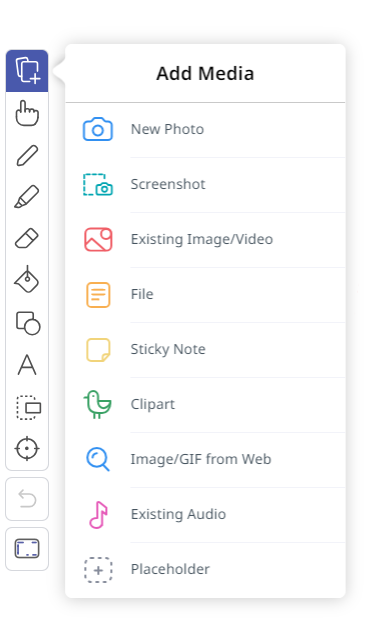
- Next, access the toolbar and add media to boost instruction. The toolbar allows you to add text, drawings, shapes, sticky notes, clipart, audio and more. One of the best Explain Everything features is the ability to add existing images, videos, and audio to your whiteboard. You can also take new photos, screenshots, recordings, and more. All of these options can help make your lessons more exciting for your students. Remember, you can even screen record your Explain Everything lessons , then have students collaborate on the whiteboard to show learning!
Ideas for use:
You may already be buzzing with ideas for how you plan to use this amazing tool. Read on for some ways that you can incorporate Explain Everything into your daily instruction:
- Boost student engagement by introducing a lesson topic that includes clipart, images, GIFs, or videos.
- Open space for brainstorming via the digital whiteboard and collaboration features.
- Analyze pre-existing texts and materials through PDF uploads.
- Sketching and note-taking with the use of the drawing and text tools.
- Creative art-based activities through the use of shape, bucket fill, and image tools.
- Out of classroom activities for outside or home learning by having students join a project with their devices and taking pictures, videos, adding audio, and more!
Example lesson:
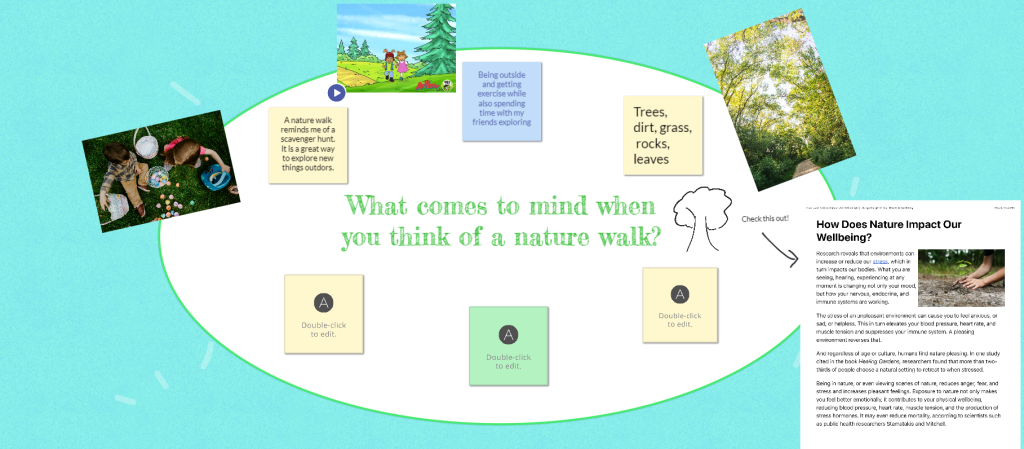
Creating interactive and engaging lessons for students is much easier with Explain Everything. If you’re looking for a specific lesson idea, I highly recommend checking out the Explain Everything Blog, which is full of ideas to get you started. I chose to use Explain Everything to take my students on a nature walk. This idea got my students up and moving, while also utilizing the Explain Everything application to show off their findings. Here is the workflow that I followed and some examples to inspire your own activities!
- Activate prior knowledge with a nature-based text. Students can read and annotate right on the Explain Everything whiteboard.
- Take snapshots from the walk and add comments and explanations along the way.
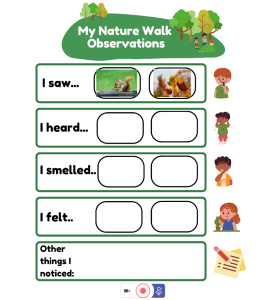
- Use a template to have students complete a pre-made scavenger hunt.
- Collaborate and connect with peers to share findings from the walk.

I hope you’re feeling motivated to enhance your lessons! Remember that Explain Everything can utilize materials that you already have, or try out some of the ready-to-go templates! Be sure to check out our accompanying OTIS course, Going on a Nature Walk with Explain Everything, as well as other courses in the OTIS Course Library.
For more tips, tricks, and tools for teaching in and out of the classroom, check out more content on the Teq Talk blog or our YouTube channels OTIS for educators and Tequipment.
We also offer virtual professional development, training, and support with OTIS for educators. Explore the technology and strategies that spark student success — no matter where teaching or learning are happening!
Follow us on social:
![]() edteq
edteq ![]() OTIS4educators | Teq Products | iBlocks
OTIS4educators | Teq Products | iBlocks ![]() OTIS4educators | MyTeq
OTIS4educators | MyTeq ![]() Teq
Teq
0 thoughts on “Using Explain Everything to Enhance Lessons”
Related Articles & Other Recommended Reading

Bridging the Gap to Successful Project-Based Learning with Inspirit
There is no better way to complement your Project-Based Learning (PBL) initiatives than by creating engaging and interactive experiences in virtual reality (VR). VR provides users with a computer-generated simulation of a 3D image or environment that can be interacted with in a seemingly real and physical way. Inspirit offers user-friendly, innovative VR headsets that […]

Teq is Headed to FETC!
Teq is off to the 2026 Future of Education Technology Conference (FETC)! Being held from January 11th to January 14th, 2026, this top-notch event is being hosted at the Orange County Convention Center in Orlando, FL! Demo innovative products, grab some swag, or say hello to the team at booth #2730. Tune in to interactive […]

Introducing the New AI Literacy and Instruction Micro-credential!
The landscape of K-12 education is rapidly evolving, driven by the emergence of Artificial Intelligence. Educators and administrators need more than just introductory knowledge; they need a structured, practical path to mastery. We are excited to announce the launch of the AI Literacy and Instruction Micro-credential Playlist! This comprehensive, seven-session video series is designed specifically […]